In the pursuit of achieving smooth and radiant skin, the quest for effective facial hair removal becomes a pivotal aspect of our beauty regimen. Beyond the routine approaches lies a world of natural remedies, offering gentler alternatives to chemical-laden solutions. This guide is an exploration into the diverse and natural methods that bid farewell to unwanted facial hair while prioritizing the well-being of your skin.
Facial hair removal isn’t solely about aesthetics; it’s a journey toward self-care and celebrating the authenticity of our natural features. From age-old practices to modern DIY techniques, we will navigate through an array of methods that promise not just hair-free skin, but a rejuvenating experience that honors the delicate balance of nature.
Join us as we unveil the intricacies of facial hair removal, delving into natural remedies that elevate your skincare routine. This journey promises not just a cosmetic transformation but a holistic embrace of beauty that respects and nurtures both your skin and your sense of self.
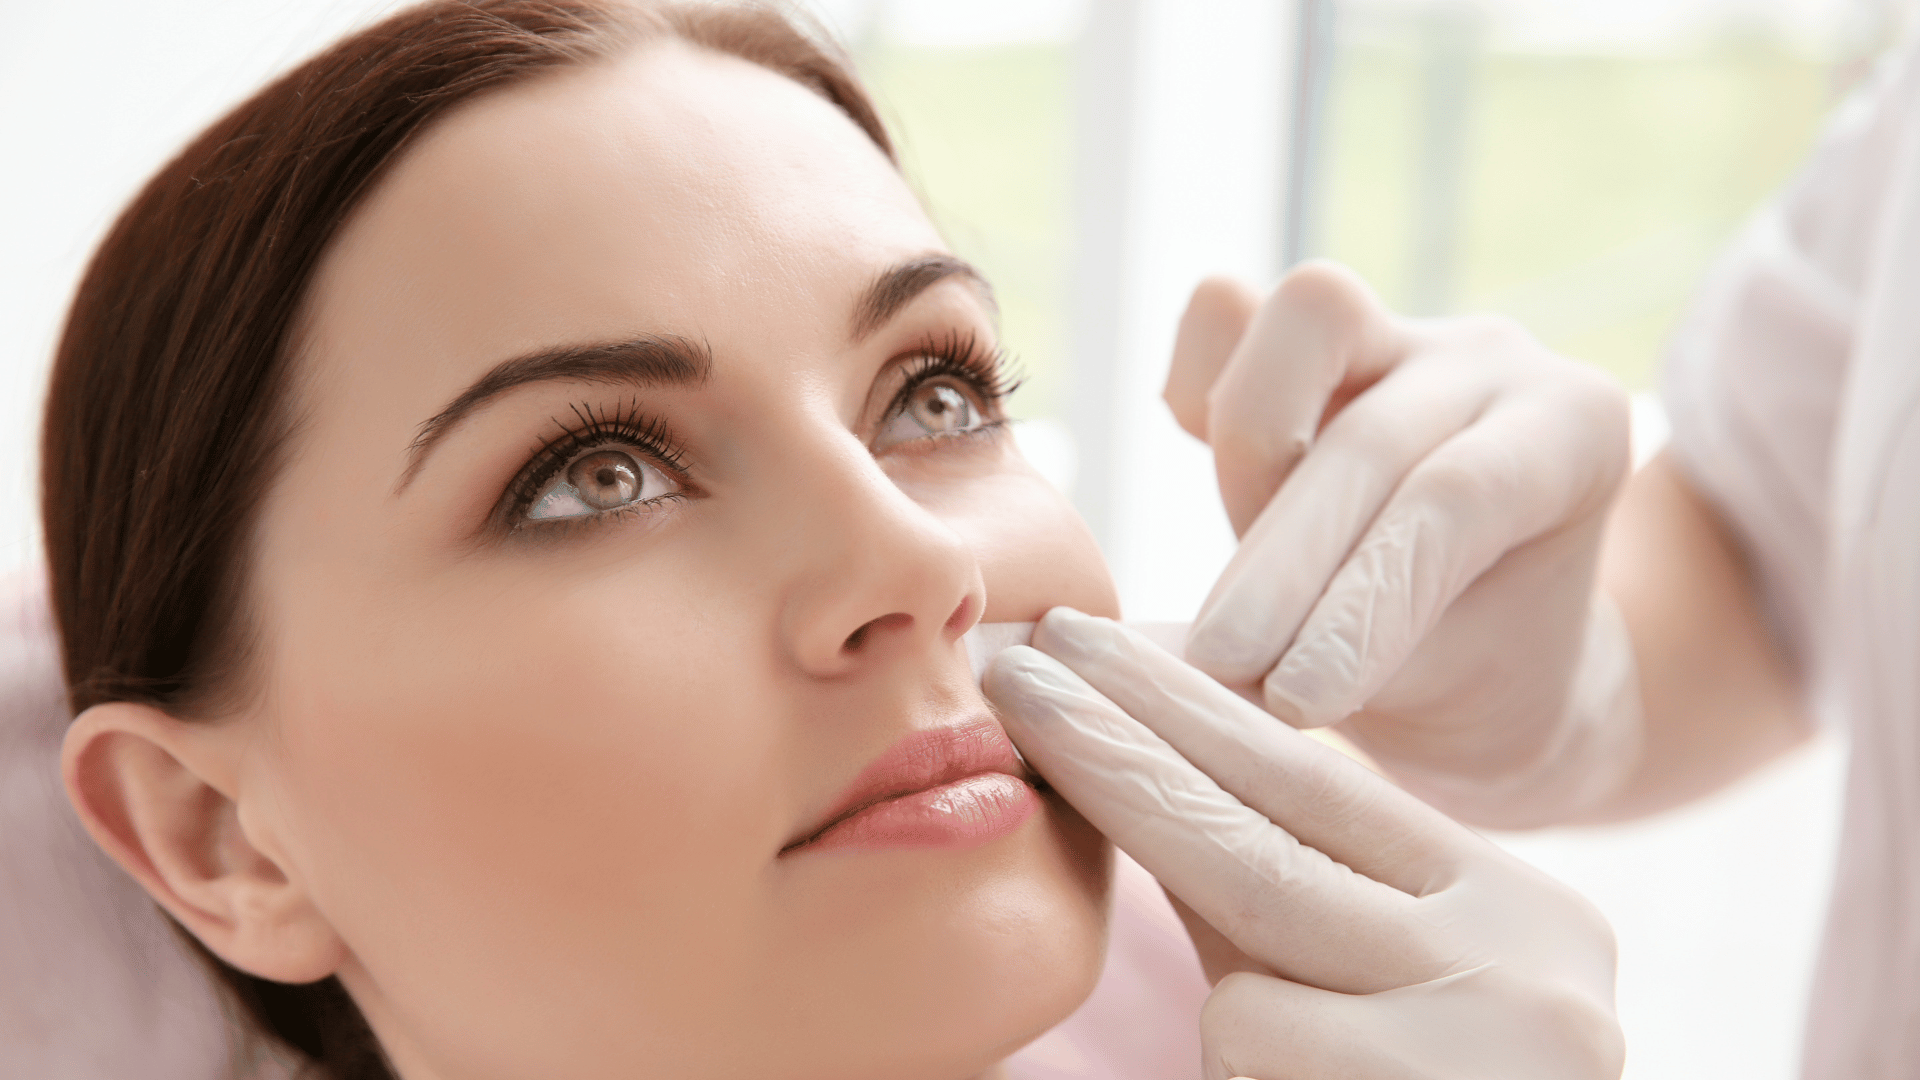
Understanding Facial Hair Growth:
Understanding facial hair growth is essential for anyone looking to manage or remove unwanted facial hair effectively. The hair growth cycle consists of several phases, each playing a crucial role in determining the texture, length, and density of facial hair. By gaining insights into these phases, individuals can make informed decisions about the most suitable methods for facial hair removal. Here’s an elaboration on the key stages of facial hair growth:
1. Anagen Phase:
- The anagen phase is the active growth phase of facial hair.
- During this stage, hair follicles are actively producing new cells, leading to the lengthening of the hair shaft.
- The duration of the anagen phase varies individually but typically lasts for a few years.
2. Catagen Phase:
- The catagen phase is a transitional phase that marks the end of active hair growth.
- Hair follicles begin to shrink, and blood supply to the hair is reduced.
- This phase is relatively short, lasting only a few weeks.
3. Telogen Phase:
- The telogen phase is the resting phase when the hair is fully formed but not actively growing.
- It is a dormant stage where the hair remains in the follicle, and new hair starts forming beneath it.
- The duration of the telogen phase can last several weeks to months.
4. Exogen Phase:
- The exogen phase is often considered a sub-phase of the telogen phase.
- During exogen, the old hair is shed, making way for new hair to emerge.
- This shedding is a natural part of the hair growth cycle.
- Understanding these phases is crucial because different hair removal methods target hair at specific stages of growth. For instance:
Shaving: Shaving cuts the hair at the surface level, leaving the follicle intact. This means that new hair growth will be visible relatively quickly.
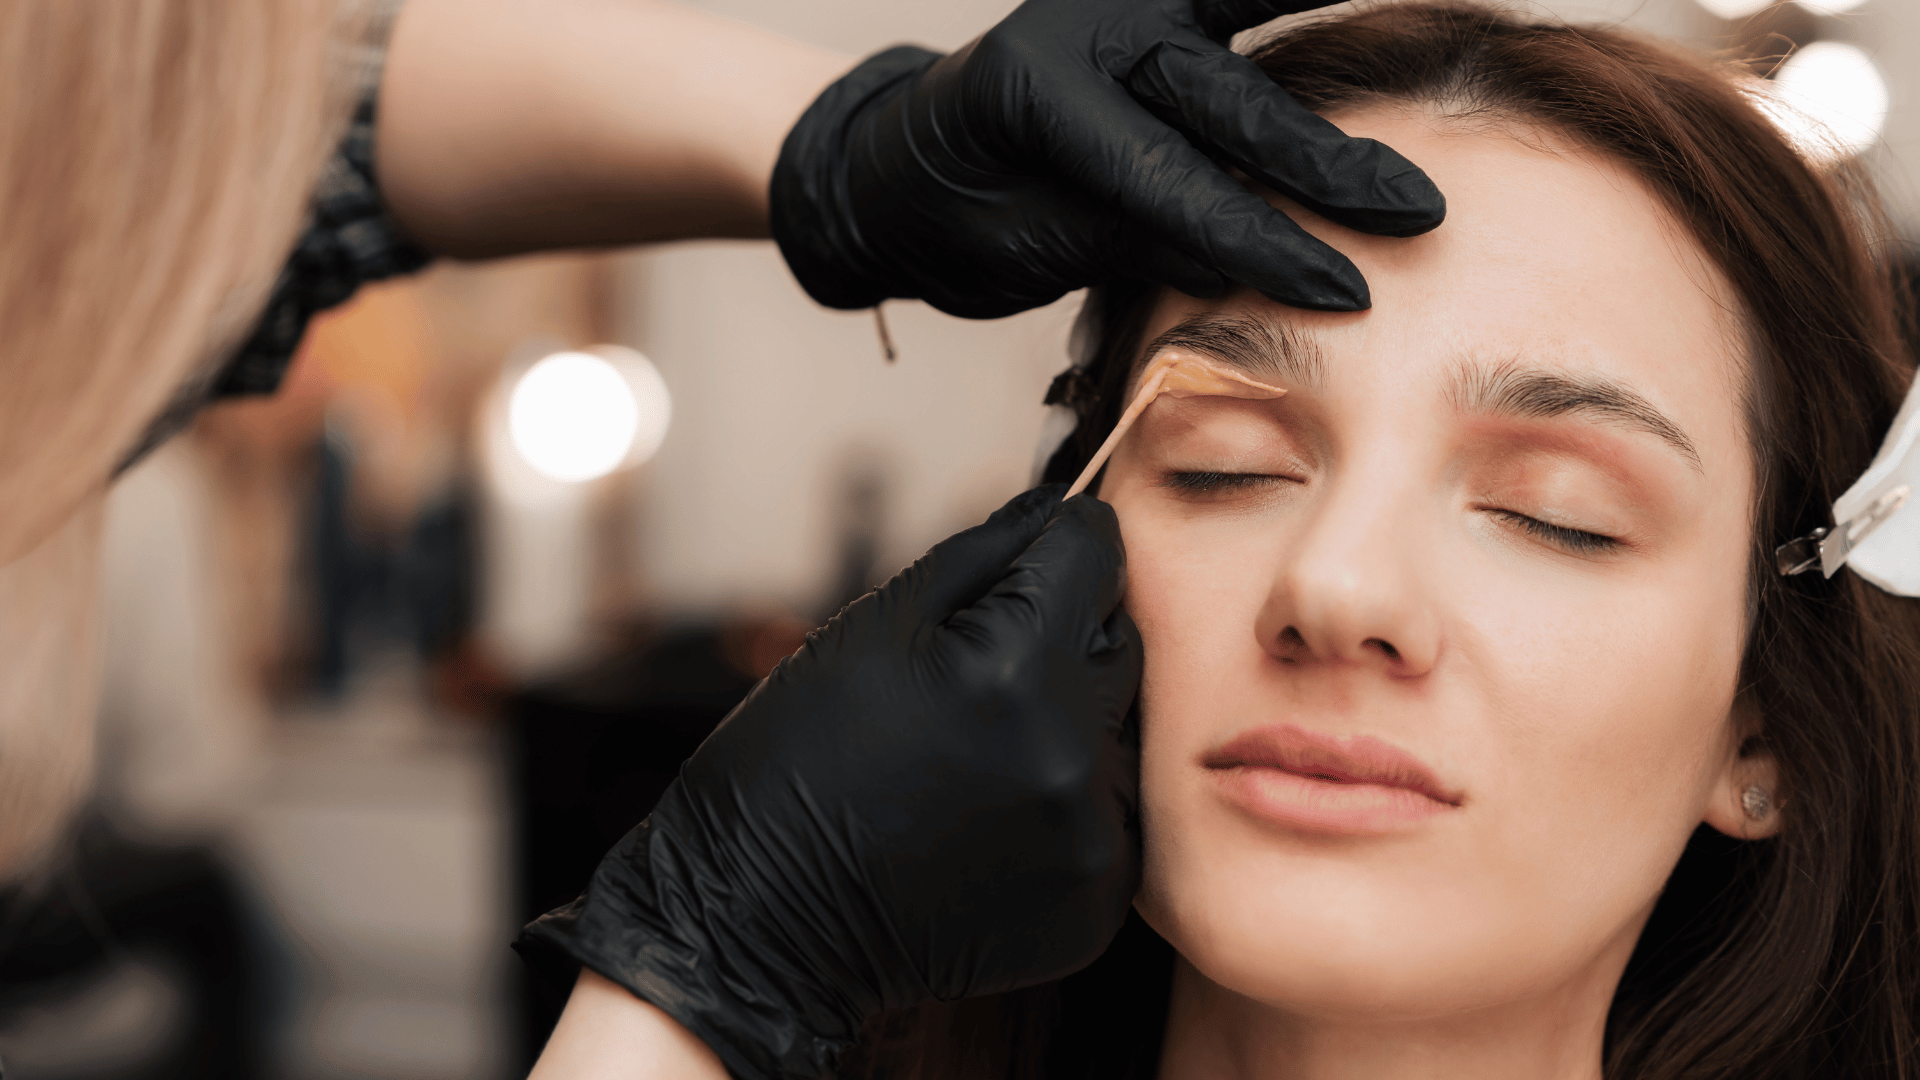
Waxing: Waxing pulls hair from the root, extending the time it takes for new hair to appear. It’s most effective when done during the anagen phase.
Laser Hair Removal: Laser treatments target the pigment in the hair follicle during the active growth phase, effectively reducing hair growth over time.
By considering the phases of facial hair growth, individuals can tailor their approach to facial hair removal for more efficient and longer-lasting results. Additionally, understanding the natural cycle of hair growth aids in setting realistic expectations about the timing and effectiveness of various hair removal methods.
Advantages of Natural Remedies for Facial Hair Removal:
Gentleness on the Skin:
Natural remedies are generally milder and gentler on the skin compared to chemical products. Many store-bought hair removal creams contain strong chemicals that may cause irritation, redness, or allergic reactions, especially for those with sensitive skin.
Reduced Risk of Allergic Reactions:
Chemical-based products often contain synthetic fragrances, preservatives, and other additives that can trigger allergic reactions. Natural remedies, on the other hand, typically involve ingredients like fruits, herbs, or natural oils, minimizing the risk of adverse skin reactions.
Cost-Effective:
Natural remedies are often more budget-friendly than regularly purchasing commercial hair removal products or opting for salon treatments. Many natural ingredients used for facial hair removal, such as turmeric, sugar, or oatmeal, are readily available in most households.
Environmental Friendliness:
Homemade natural remedies usually involve simple, biodegradable ingredients. Using natural options reduces the environmental impact associated with the production, packaging, and disposal of chemical-laden beauty products.
Holistic Benefits:
Natural remedies often come with additional skin benefits. For example, ingredients like honey, aloe vera, or coconut oil can moisturize and nourish the skin, providing a dual-purpose solution by promoting overall skin health.
Risks of Natural Remedies:
While natural remedies are generally safe, it’s essential to acknowledge potential risks, albeit minimal, associated with their use:
Skin Sensitivity:
Even natural ingredients can cause skin irritation in some individuals, particularly those with allergies or sensitivities. It’s crucial to perform a patch test before applying any new natural remedy to the entire face.
Effectiveness May Vary:
The efficacy of natural remedies can vary from person to person. Factors such as hair type, skin type, and consistency in application may influence results. Patience and regular use may be necessary for optimal outcomes.
Temporary Results:
Natural remedies often provide temporary hair removal rather than permanent solutions. Regular maintenance may be required for sustained results.
Time-Consuming:
Some natural remedies, such as homemade masks or sugar waxing, may take more time to prepare and apply compared to ready-to-use commercial products. Individuals with busy schedules may find the process more time-consuming.
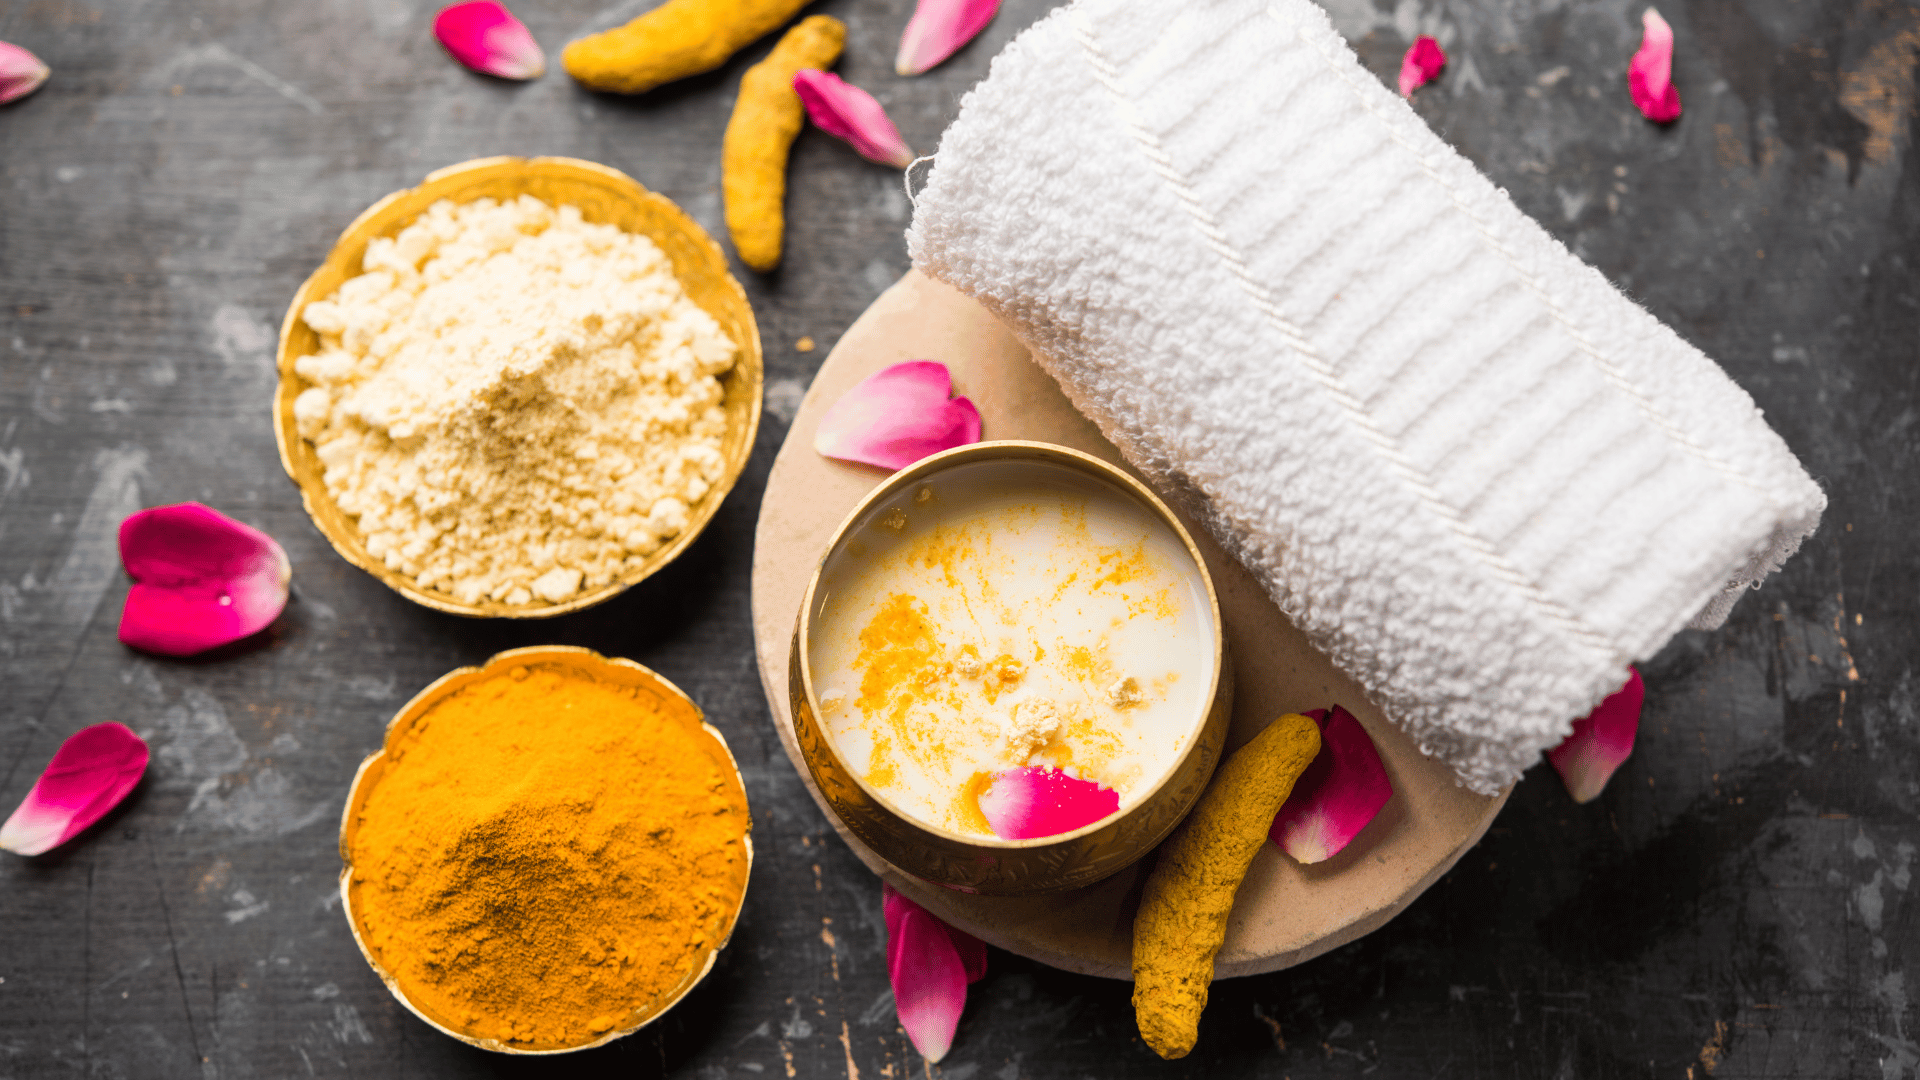
Turmeric and Gram Flour Mask:
| Ingredients | Quantity |
|---|---|
| Turmeric powder | 2 tablespoons |
| Gram flour (besan) | Enough for a smooth paste |
| Milk or water | As needed |
Preparation:
- Gather Ingredients: Begin by collecting the required ingredients: 2 tablespoons of turmeric powder, gram flour (enough for a smooth paste), and either milk or water.
- Prepare Mixing Bowl: Ensure your mixing bowl is clean and dry.
- Combine Turmeric and Gram Flour: Measure 2 tablespoons of turmeric powder and place it in the mixing bowl. Gradually add enough gram flour to create a thick, consistent paste.
- Adjust Consistency: Choose between milk or water to adjust the paste’s consistency. Slowly add the liquid while stirring continuously until a smooth paste is achieved.
Application:
- Cleanse Face: Before applying the mask, cleanse your face to remove any makeup, dirt, or oils.
- Apply Mask: Using fingertips or a brush, evenly apply the turmeric and gram flour paste to your face, concentrating on areas with unwanted facial hair.
- Leave to Dry: Allow the mask to sit on your skin for 20-30 minutes or until it completely dries, during which you may feel a slight tightening sensation.
- Exfoliate: Once dried, dampen your fingers and gently massage the dried paste in circular motions against the direction of hair growth to exfoliate.
- Rinse Off: After exfoliating, rinse off the mask with lukewarm water, ensuring complete removal.
Pat Dry and Moisturize: Pat your face dry with a clean towel and follow up with your regular moisturizer.
Tips:
- Patch Test: Perform a patch test before applying the mask to ensure no adverse reactions.
- Frequency: Use this mask regularly, but not more than twice a week, for optimal results.
- Yellow Tint: Turmeric may leave a slight yellowish tint on your skin, easily removed with a gentle cleanser.
This Turmeric and Gram Flour Mask not only addresses unwanted facial hair but also provides a natural, rejuvenating treatment for your skin. Regular use can contribute to a brighter and smoother complexion.
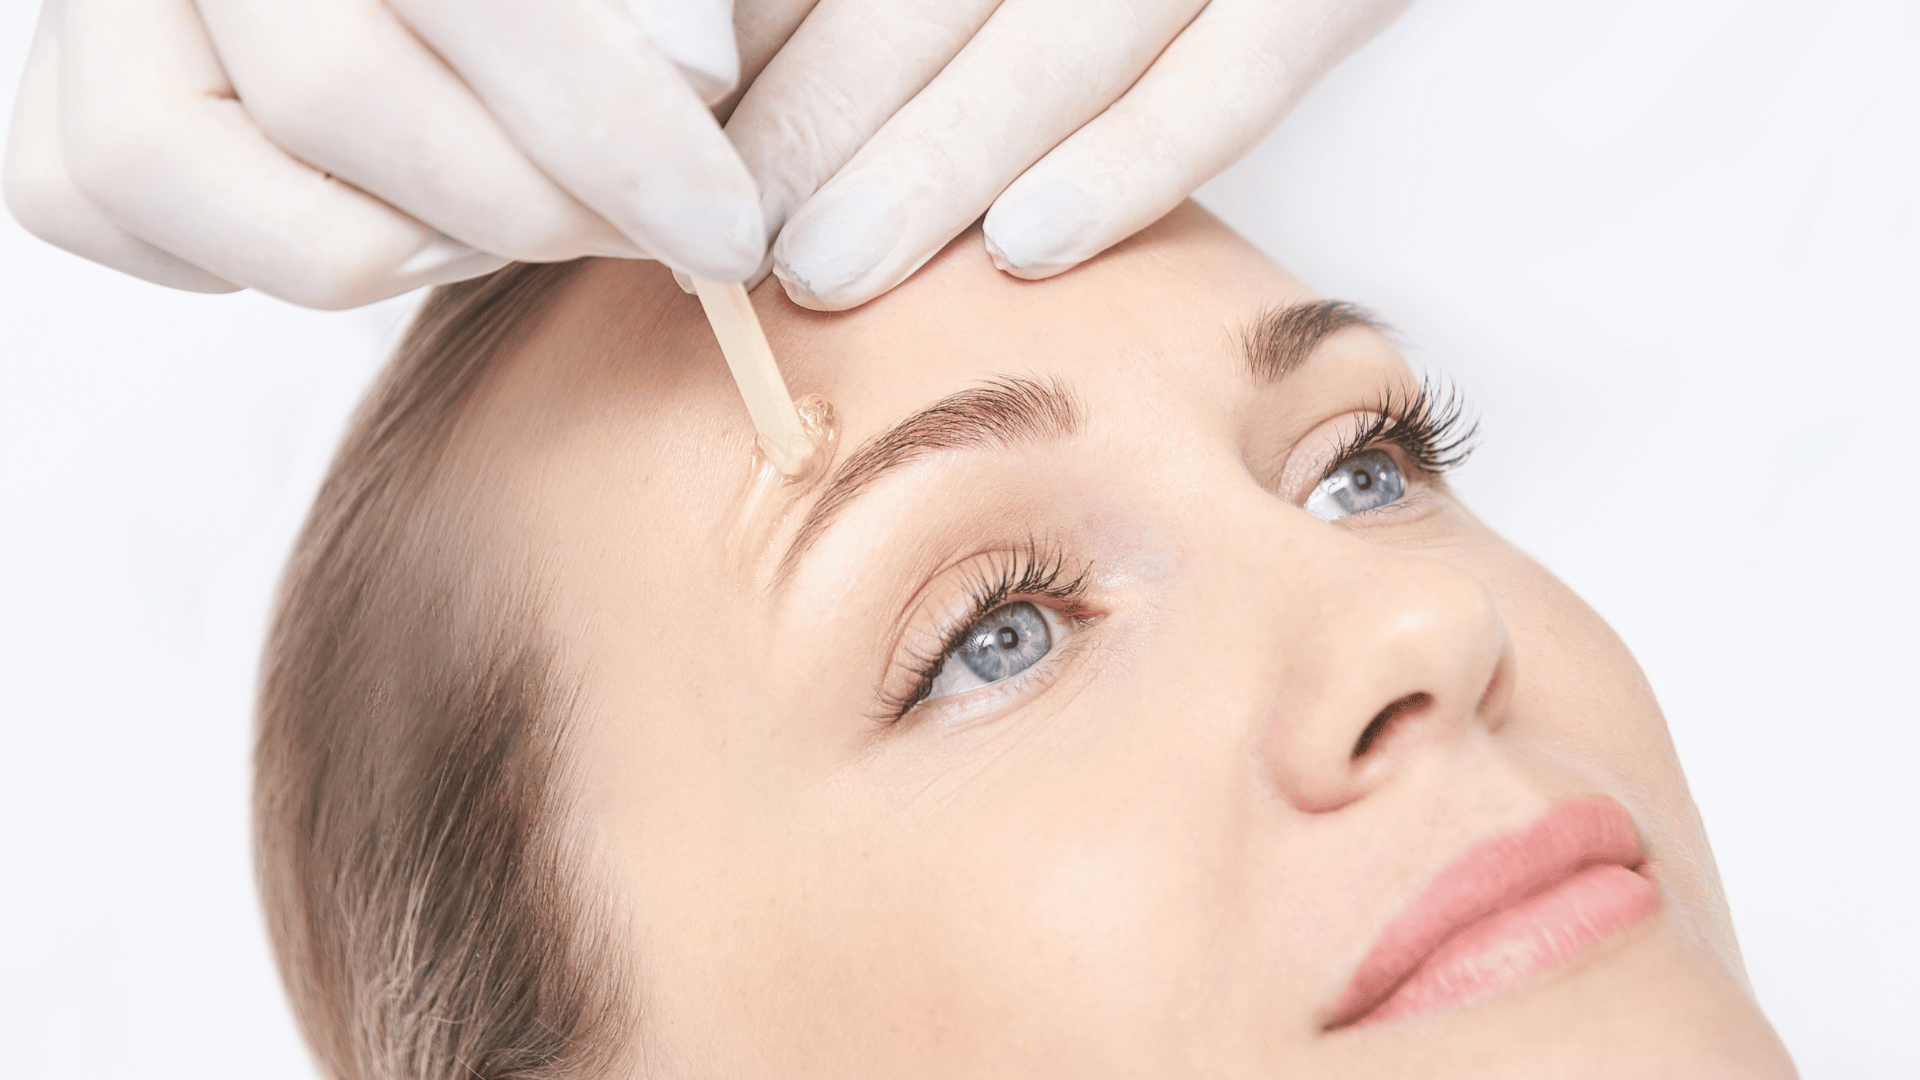
Sugar Waxing:
Sugar waxing is a natural and effective method for removing unwanted facial hair. This technique, also known as sugaring, utilizes a simple mixture of sugar, lemon juice, and water to create a sticky wax that adheres to the hair, allowing for easy removal from the root. Below are detailed instructions on how to prepare and apply sugar wax, along with some essential tips for a successful and less painful experience.
| Ingredients | Quantity |
|---|---|
| Sugar | 1 cup |
| Lemon juice | 1/4 cup |
| Water | 1/4 cup |
Preparation:
- Combine Ingredients: In a saucepan, combine 1 cup of sugar, 1/4 cup of lemon juice, and 1/4 cup of water.
- Stir Continuously: Heat the mixture over low heat, stirring continuously to ensure thorough mixing.
- Achieve Consistency: Continue heating until the mixture reaches a thick, amber-colored consistency, resembling traditional wax. This usually takes around 10-15 minutes.
- Cool Down: Allow the sugar wax to cool to a temperature comfortable for application.
Application:
- Cleanse Skin: Before applying the sugar wax, cleanse your face to remove any makeup, oil, or impurities.
- Dust with Powder: Optionally, dust the skin with a bit of cornstarch or baby powder to absorb excess moisture and facilitate smoother wax application.
- Check Temperature: Ensure the sugar wax is warm but not too hot to avoid burns.
- Apply Wax: Using a spatula or applicator, spread a thin layer of sugar wax onto the skin in the direction of hair growth.
- Use Cloth Strip: Place a cloth strip or muslin fabric over the applied wax, pressing it down gently.
- Swift Removal: Hold the skin taut with one hand and swiftly pull the cloth strip against the direction of hair growth with the other hand. Ensure a quick and confident pull for effective hair removal.
- Repeat as Needed: Repeat the process on different facial areas, warming the wax if necessary.
Tips:
- Consistency Matters: The sugar wax should have a thick consistency, similar to honey, for optimal results.
- Hair Length: Aim for hair length of around 1/4 to 1/2 inch for effective removal.
- Avoid Moisturizers: Do not apply moisturizers or oils to the skin before waxing, as this can hinder the wax’s adherence to the hair.
- Aftercare: After waxing, soothe the skin with aloe vera gel or a mild, fragrance-free moisturizer.
Sugar waxing provides a natural alternative to commercial waxing products, offering effective hair removal with minimal risk of irritation. As with any hair removal method, it’s essential to perform a patch test and follow proper aftercare for the best results.
Spearmint Tea Infusion:
Spearmint tea is renowned for its potential to help balance hormones, particularly those associated with excessive hair growth. By incorporating spearmint tea into your routine, you may experience a reduction in unwanted facial hair over time. Here’s a step-by-step guide on preparing spearmint tea infusion and integrating it into your daily regimen:
| Ingredients | Quantity |
|---|---|
| Spearmint tea bags | 1-2 bags |
| Hot water | 1 cup |
Preparation:
- Brew Spearmint Tea: Boil one cup of water and place 1-2 spearmint tea bags in the hot water.
- Steep Tea: Allow the tea bags to steep for 5-7 minutes, extracting the beneficial compounds from the spearmint leaves.
- Remove Tea Bags: After steeping, remove the tea bags from the cup.
Application:
- Cool Down: Allow the tea to cool to room temperature before consumption.
- Consume Regularly: Drink the spearmint tea regularly as part of your daily routine. You can enjoy it either hot or cold, based on your preference.
- Timing: For optimal results, consider consuming spearmint tea twice a day.
Tips:
- Be Patient: The hormonal balancing effects may take some time to become noticeable. Consistency is key.
- Variety: Experiment with different brands or types of spearmint tea to find one that suits your taste.
Spearmint tea’s potential benefits in regulating hormones make it a gentle and natural approach to managing unwanted facial hair. As with any herbal remedy, it’s advisable to consult with a healthcare professional, especially if you have existing medical conditions or are taking medications.
Papaya and Turmeric Paste:
Papaya, known for its natural enzymes, when combined with the anti-inflammatory properties of turmeric, creates a powerful paste that not only aids in facial hair removal but also promotes smoother, healthier skin. Here’s a detailed guide on preparing and applying the Papaya and Turmeric Paste:
| Ingredients | Quantity |
|---|---|
| Ripe papaya | Small amount |
| Turmeric powder | Pinch |
Preparation:
- Select Ripe Papaya: Choose a ripe papaya and cut a small amount from it.
- Mash Papaya: Mash the small amount of ripe papaya to form a smooth paste.
- Add Turmeric: Incorporate a pinch of turmeric powder into the papaya paste, enhancing its anti-inflammatory properties.
Application:
- Apply Paste: Use your fingertips to apply the paste evenly to your face, focusing on areas with unwanted facial hair.
- Leave On: Allow the paste to sit on your skin for 15-20 minutes. This provides ample time for the enzymes in papaya and the healing properties of turmeric to work.
- Rinse Off: After the allotted time, rinse off the paste with lukewarm water, ensuring all residue is removed.
Tips:
- Consistent Use: For optimal results, apply this paste regularly, around 2-3 times a week.
- Skin Test: Perform a patch test initially to ensure your skin tolerates the ingredients well.
- Sun Protection: After using the paste, apply sunscreen to protect your skin, as turmeric can make your skin temporarily more sensitive to sunlight.
This natural paste not only assists in the gradual reduction of facial hair but also leaves your skin feeling rejuvenated and refreshed. Be patient with the process, and over time you may notice improved skin texture and a reduction in unwanted hair growth.
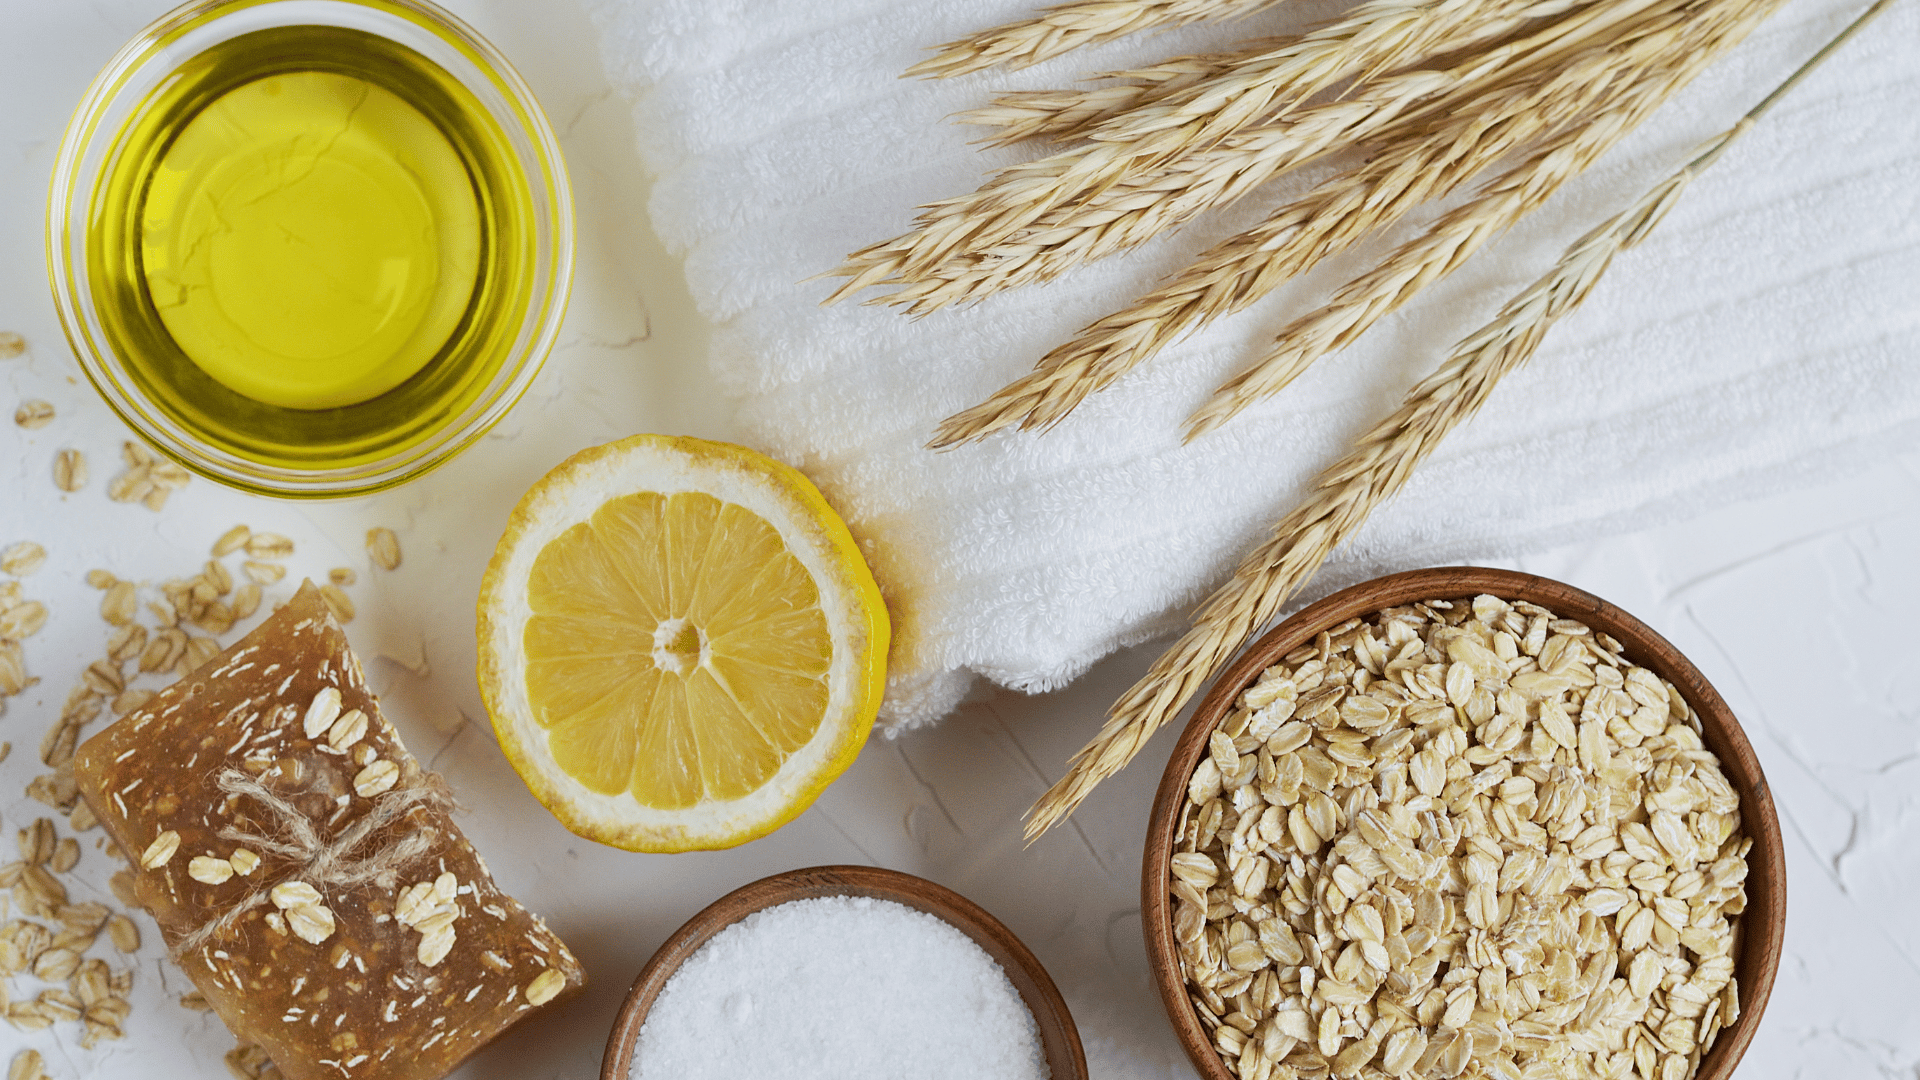
Oatmeal Scrub:
Oatmeal is not just a wholesome breakfast option; it can also be a gentle yet effective exfoliator when combined with honey. This oatmeal scrub not only helps in removing facial hair but also leaves your skin feeling soft and nourished. Here’s a detailed guide on preparing and applying the Oatmeal Scrub:
| Ingredients | Quantity |
|---|---|
| Oatmeal | 2 tablespoons |
| Honey | Enough for a paste |
Preparation:
- Grind Oatmeal: Begin by grinding 2 tablespoons of oatmeal into a fine powder. You can use a blender or food processor for this.
- Mix with Honey: Combine the oatmeal powder with enough honey to create a thick, cohesive paste.
Application:
- Apply Paste: Using your fingertips or a brush, apply the oatmeal and honey paste evenly to your face, concentrating on areas with unwanted facial hair.
- Leave On: Allow the paste to sit on your skin for 15-20 minutes. During this time, the oatmeal works as a gentle exfoliator, and honey provides hydration.
- Gentle Scrub: After the allotted time, use gentle circular motions to scrub the paste against the direction of hair growth. This helps in the removal of dead skin cells and unwanted hair.
- Rinse Off: Rinse your face thoroughly with warm water, ensuring all remnants of the paste are washed away.
Tips:
- Adjust Honey: Tailor the quantity of honey for the desired consistency of the paste.
- Frequency: Use this scrub 1-2 times a week for smooth and radiant skin.
- Moisturize: Follow up with your regular moisturizer to keep your skin hydrated.
This natural oatmeal scrub not only aids in facial hair removal but also provides a gentle exfoliation, leaving your skin with a healthy glow. Remember to perform a patch test before applying to ensure compatibility with your skin.
Honey and Lemon Mask:
Combining the natural properties of honey and lemon creates a powerful facial mask that not only helps in hair removal but also promotes a clearer complexion. The antibacterial and moisturizing qualities of honey, along with the gentle exfoliation from lemon, make this mask a popular choice. Here’s a detailed guide on preparing and applying the Honey and Lemon Mask:
| Ingredients | Quantity |
|---|---|
| Honey | 2 tablespoons |
| Lemon juice | 1 tablespoon |
Preparation:
- Mix Ingredients: In a small bowl, thoroughly mix 2 tablespoons of honey with 1 tablespoon of fresh lemon juice. Ensure a consistent blend of both ingredients.
Application:
- Cleanse Face: Start with a clean face, free from any makeup or impurities.
- Apply Mixture: Using your fingers or a brush, apply the honey and lemon mixture evenly to your face, especially focusing on areas with unwanted facial hair.
- Leave On: Let the mask sit on your skin for 15-20 minutes. The honey provides hydration, while the lemon’s natural acids offer gentle exfoliation.
- Rinse Off: After the designated time, rinse your face thoroughly with lukewarm water, making sure all residues are removed.
Tips:
- Patch Test: Always perform a patch test before applying the mask to ensure your skin doesn’t have an adverse reaction.
- Moisturize: Follow up with a light moisturizer after rinsing to keep your skin hydrated.
- Sun Protection: Lemon can make your skin more sensitive to sunlight, so use sunscreen if you plan to go out.
This simple yet effective honey and lemon mask not only aids in facial hair removal but also leaves your skin feeling refreshed and rejuvenated. Regular use can contribute to a brighter and smoother complexion.
Lavender and Tea Tree Oil Blend:
Harnessing the natural benefits of essential oils, particularly lavender and tea tree oil, can provide a soothing and aromatic solution for managing unwanted facial hair. Both oils possess anti-inflammatory and antimicrobial properties, making them a potent combination. Here’s a detailed guide on preparing and applying the Lavender and Tea Tree Oil Blend:
| Ingredients | Quantity |
|---|---|
| Lavender essential oil | 3-4 drops |
| Tea tree essential oil | 1-2 drops |
| Carrier oil (jojoba or coconut) | Enough for dilution |
Preparation:
- Blend Oils: In a small container, mix 3-4 drops of lavender essential oil with 1-2 drops of tea tree essential oil.
- Dilute with Carrier Oil: To avoid skin irritation, dilute the essential oil blend with a carrier oil such as jojoba or coconut oil. Mix until well combined.
Application:
- Dilute Further (if necessary): Before applying to the face, ensure the oil blend is adequately diluted. Adjust the ratio with the carrier oil if needed.
- Apply with Cotton Ball: Using a cotton ball, apply the diluted oil blend to your face, concentrating on areas with unwanted facial hair.
- Leave Overnight: For best results, leave the oil blend on overnight to allow the essential oils to penetrate the hair follicles.
- Rinse (optional): If you prefer, you can rinse your face in the morning with a gentle cleanser to remove any excess oil.
Tips:
- Patch Test: Before applying the blend to your entire face, perform a patch test to ensure your skin tolerates the essential oils.
- Consistency is Key: Use this oil blend regularly for sustained results.
- Individual Tolerance: Adjust the number of essential oil drops based on your skin’s sensitivity.
This Lavender and Tea Tree Oil Blend not only helps in managing facial hair but also provides a delightful aroma for a calming experience. As with any essential oil application, be cautious about skin sensitivity and consult with a healthcare professional if needed.
Conclusion:
In the pursuit of achieving smooth and hair-free skin, exploring natural and home-based remedies can be a gratifying journey. The seven easy and natural facial hair removal techniques presented in this guide offer a blend of traditional wisdom and modern skincare insights. From the exfoliating wonders of oatmeal to the hormone-balancing potential of spearmint tea, each remedy brings its unique benefits to the table.
Choosing natural remedies over chemical products not only aligns with a holistic approach to skincare but also minimizes the risk of adverse reactions. Nature’s bounty provides a rich source of ingredients that not only remove facial hair but also nurture and rejuvenate the skin. These remedies, incorporating elements like turmeric, papaya, honey, and essential oils, offer a harmonious blend of efficacy and gentleness.
Understanding the intricacies of facial hair growth enables us to tailor our approach, ensuring a more personalized and effective routine. Whether it’s the simplicity of sugar waxing, the nurturing qualities of honey and lemon, or the aromatic embrace of lavender and tea tree oil, these remedies empower individuals to embrace their natural beauty while fostering self-care rituals.
As with any skincare regimen, consistency is key. Integrating these natural remedies into your routine and patiently allowing time for their effects to manifest can yield long-lasting and satisfying results. Additionally, performing patch tests, respecting individual skin sensitivities, and seeking professional advice when needed contribute to a holistic and safe skincare journey.
In the realm of natural facial hair removal, the choices are abundant, and experimentation can lead to discovering the perfect fit for your skin. Embrace the journey, celebrate the uniqueness of your skin, and relish in the nurturing embrace of these natural remedies on the path to radiant and hair-free skin.
FAQs
Q. Are these natural remedies safe for all skin types?
A. Yes, in general, these natural remedies are safe for various skin types. However, it’s essential to perform patch tests before applying them to your entire face, especially if you have sensitive skin. If you have specific skin concerns or conditions, it’s advisable to consult with a dermatologist before trying these remedies.
Q. How often should I use these natural facial hair removal methods?
A. The frequency of use depends on the specific remedy. Generally, using these remedies 1-2 times a week is sufficient. However, it’s crucial to monitor your skin’s response and adjust the frequency accordingly. Overuse may lead to irritation, so finding a balance that works for your skin is key.
Q. Can these remedies cause skin irritation or allergies?
A. While these remedies are generally gentle, individual skin reactions may vary. Performing a patch test before applying any remedy to your face is recommended to ensure that you don’t have an adverse reaction. If you notice redness, itching, or any discomfort, discontinue use and consult with a healthcare professional.
Q. How long does it take to see results with these natural remedies?
A. Results may vary from person to person. While some individuals may notice a difference after the first application, it often takes consistent use over several weeks to see significant results. Be patient and give your skin time to respond to the natural ingredients.
Q. Can I use these remedies if I have existing skincare products in my routine?
A. Yes, in most cases, these natural remedies can be incorporated into your existing skincare routine. However, it’s advisable to avoid using multiple active ingredients simultaneously, especially if you’re using products that may cause skin sensitivity. Pay attention to how your skin responds and make adjustments as needed.
Q. Are there any side effects associated with these natural facial hair removal methods?
A. When used correctly, these natural remedies typically have minimal side effects. However, some individuals may experience temporary redness or irritation. It’s crucial to follow the recommended guidelines for each remedy, perform patch tests, and discontinue use if you notice any adverse reactions. If you have pre-existing skin conditions, consult with a healthcare professional before trying these methods.
You can check how to remove tan from face here.